
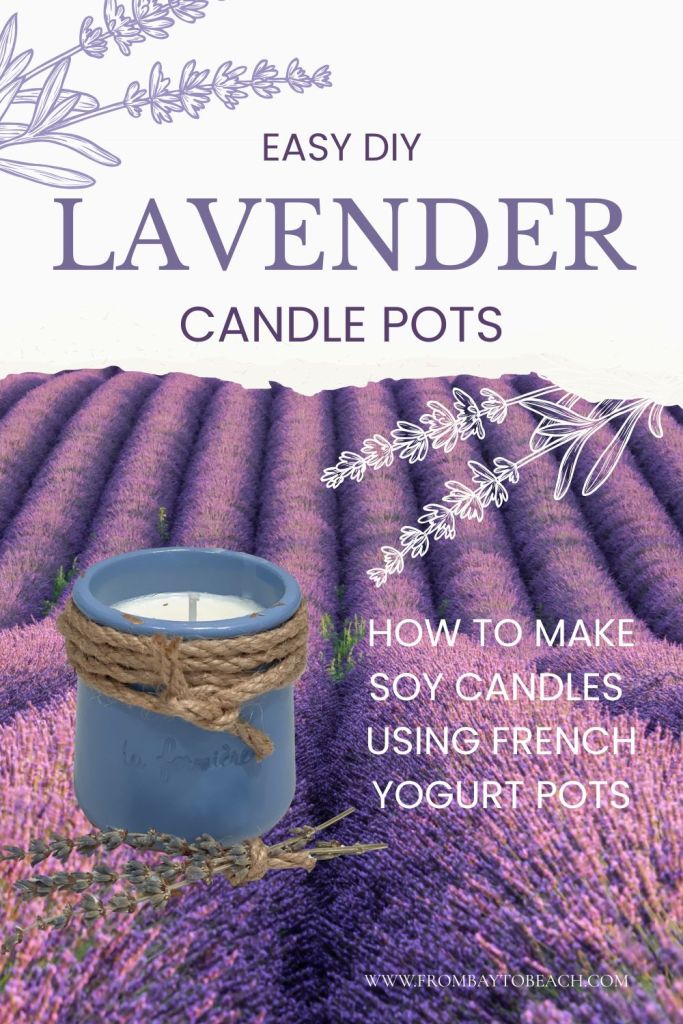
In this post – how to make inexpensive and easy DIY candles using upcycled french yogurt pots.
Here in California, we have a Mediterranean climate which means that lavender generally thrives everywhere. To me, there’s nothing better than the scent of lavender in a garden.

In fact, I love lavender. It’s one of my favorite scents. I like it in candles, potpourri, lotion, you name it. I even like lavender ice cream , yogurt and crème brûlée (trust me.)

So when I spied la fermière lavender french yogurt at the grocery store I knew I had to try it. It was delicious. If you haven’t had french yogurt before you must try it!
When the yogurt was gone I couldn’t bear to throw away the cute little leftover terra cotta pots because they’re adorable and I knew I could make something out of them. I decided that they would make perfect little vessels for lavender candles. Turns out it was a really easy project.

Easy DIY Lavender Candle Pots: Step-by-Step Instructions
- Step 1: Materials Needed
- Step 2: Melt the Wax
- Step 3: Prep the Candle Pots
- Step 4: Add Essential Oil to Melted Wax
- Step 5: Pour Wax Into Pots
- Step 6: Allow Wax to Cool and Harden
- Step 7: Decorate (Optional)
- Ways to Use Your Candle Pots
- Pin It!
- Find Me on Substack
- You may also enjoy…
Step 1: Materials Needed
French Yogurt Pots
For this project you will need to source some yogurt pots and some basic candle-making supplies. Step one is sourcing your yogurt pots. If you can’t find la fermière yogurt at a store near you, you can order it from Amazon. I recommend this route because their french yogurt is quite tasty. Another option is to purchase empty pots from a third-party vendor like Etsy. You could also use another small glass or terra cotta vessel – but they won’t be as cute! 😉

The pots cleaned up easily in the top rack of the dishwasher. There was a little gold foil still stuck to some of the rims but it was hard to scrape off, so I decided I didn’t care.

Candle Making Supplies
All of the candle making supplies above were purchased from Michael’s.
9.5” melting pot (used a double boiler)
pre-waxed candle wicks and clips
soy wax flakes (one bag makes exactly 4 candle pots)
Tip: I always order my craft supplies online for in-person pickup from Michael’s because they usually offer a discount for online orders.
Dried Lavender (optional)
The dried lavender bundles are from Amazon. They came wrapped in pretty paper tied with raffia and smell heavenly. I used small clippings from them to decorate the outside of the pots. The rest I will display and enjoy.

Other Supplies
You will need access to a stove top and a small cooking pot to use as a double boiler. Before you begin, make sure that your wax melting pot will sit securely on the top of your pot.
Step 2: Melt the Wax
Add enough water to the pot so that it just barely reaches the bottom of the wax melting pot and bring to a boil. Add about 1/3 of the bag of wax to the wax melting pot. Gently stir occasionally as the wax begins to melt, breaking up any large chunks.


Step 3: Prep the Candle Pots


Tip: Dip the clip end of the wicks into the melted wax to help secure them to the bottom of the pots. This helps the wicks stay centered as you pour in the melted wax.

Step 4: Add Essential Oil to Melted Wax
Once the wax has completely liquified, turn off the burner. Add a generous amount of essential oil to the melted wax and stir. How much oil to add is a matter of personal preference. I used my nose as a guide for this. I added the oil until I felt that the wax had a pretty strong lavender aroma.


Step 5: Pour Wax Into Pots
Slowly and carefully pour the melted wax into the pots. Use a potholder if needed. It’s important to pour the wax slowly so the wick doesn’t move. Fill each pot nearly to the top, leaving about 1/2”.


It took 3 batches of melted wax to fill all 4 candle pots. I simply repeated the process for each batch.
Step 6: Allow Wax to Cool and Harden
It’s important to not move your candles while the wax cools. The cooling process should take about an hour. The wax will turn white as it hardens.

Step 7: Decorate (Optional)
If you have some twine or ribbon on-hand, you can dress up your candle pots. I simply wrapped some twine around the pots and tied it in a knot. You could also tie or glue a small sprig of lavender to the pots. (Just be sure it’s far away from the flame.)

Trim the wicks to about 1/4” before lighting to prevent smoking. Enjoy!


Ways to Use Your Candle Pots
There are lots of possibilities for these!
Hostess gifts
Kitchen/Bathroom/Bedroom decor
Holiday/Birthday gifts
Teacher appreciation gifts
Mother’s Day gifts
Use outdoors as a natural mosquito repellent
Pin It!
Save this project for later!
Find Me on Substack


This article includes affiliate links; if you click on a shopping link and make a purchase I may receive a commission. As an Amazon Associate, I earn from qualifying purchases at no additional cost to you. Your purchases help support this blog. Thank you!
Discover more from From the Bay to the Beach
Subscribe to get the latest posts sent to your email.

2 Responses
Super cute Susan. I love lavender as well and love to infuse cocktails or dessert with sprigs from the garden. XO- MJ
Ooh! I forgot about lavender cocktails! Also high on my list!