
It’s never too early to start planning your Thanksgiving tablescape. For a uniquely coastal look, why not try incorporating shells into your table decor? In this post, I’ll show you how to make adorable turkey place card holders entirely from seashells. Ready to get your gobble on?

Supplies Needed:
This article includes affiliate links; if you click on a shopping link and make a purchase I may receive a commission. As an Amazon Associate, I earn from qualifying purchases.
The links below will give you enough supplies to make at least 6 turkeys. If you need to make more you should buy additional large scallop shells.

Mini seashells (2 bags if you intend to make more than a couple turkeys)
Step 1: Select Your Shells

To make 1 turkey you will need:
1 large white scallop
3 small scallops in your choice of colors
3 mini spiral conch shells
2 turkey wing shells
Approx 60 mini shells for the tailfeathers
1 sand dollar
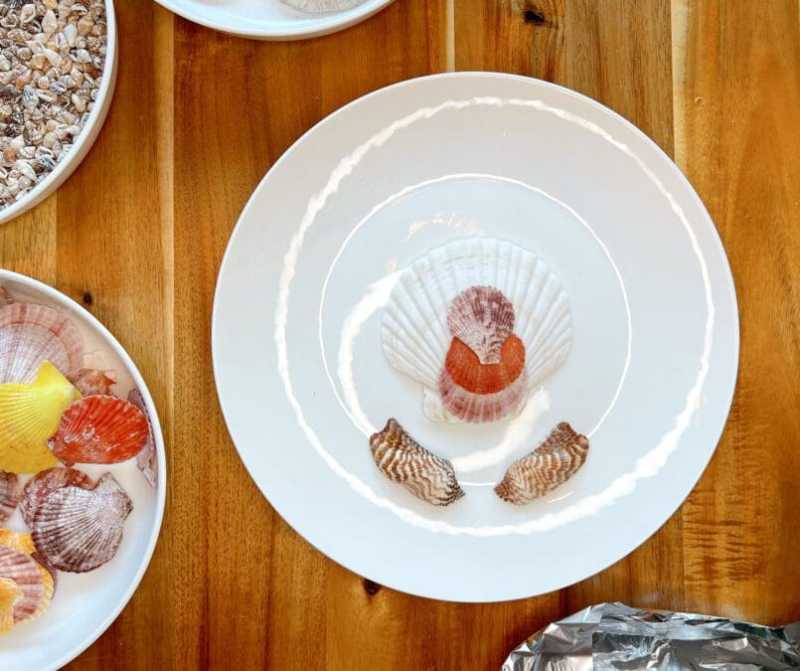
Step 2: Build the Body
- To start, select one of the small scallop shells. Use hot glue to attach it upside-down to the base of the front of the large white scallop.


- Next, select another small scallop and glue it upside-down on top of the first scallop, overlapping slightly.

- Finally, glue on the third small scallop right-side-up partially overlapping the second scallop. This will be the turkey’s head.

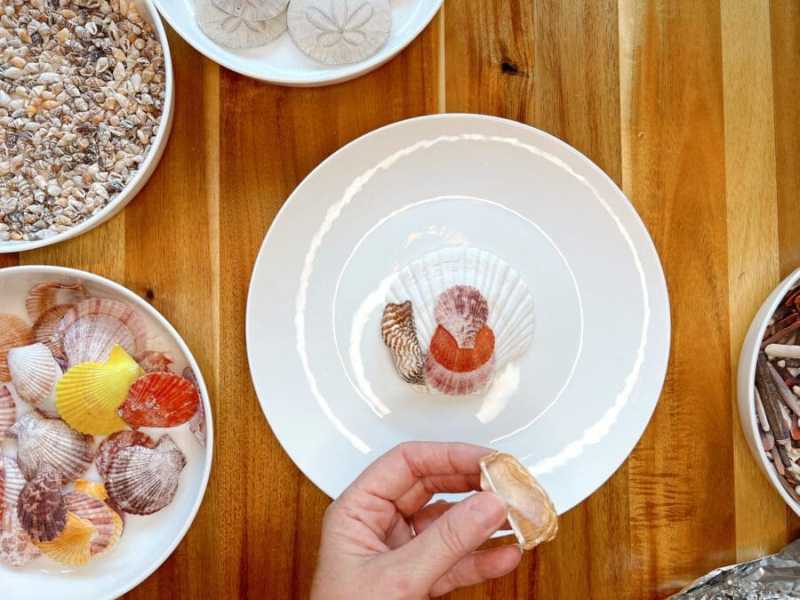
Step 3: Add the Wings
- Select two turkey wing shells. They should be two opposite-facing shells because one will go on the right side and one on the left. Glue one on each side of the first small scallop, with the curved part of the shell on the bottom.
Step 4: Add the Tail Feathers
- Glue the tail feathers (small seashells) on one at a time, using the grooves in the scallop as a guide. I glued the feathers in the grooves of the large scallop, and then did a second layer of feathers in between the first ones. I used smaller, shorter shells on the outer edges and longer shells in the middle. (For the first 2 layers, I had the colorful ends of the shells pointing up, but that’s up to you.) For the third layer, I inverted the small shells so that the white ends were pointing up, and glued them in between the second layer a little bit lower down.


- Once the glue has dried, flip the turkey over and glue a fourth row of shells to the back of the turkey, making sure that the feathers extend a little past the ones glued to the front. This adds some depth to the tail and creates a groove for the place card to sit.


Step 5: Add Details to the Head
- Glue three small conch shells to the top small scallop to make the turkey’s eyes and beak.


- For the wattle, glue two of the small tail feather shells to the area around the beak.
Step 6: Make the Stand
- Put a generous amount of glue on the top half of the back of the sand dollar. Hold the turkey upright, leaning back slightly, and press the sand dollar to the back of the turkey, angled out slightly to serve as a prop.

- Once the glue has cooled, add another generous layer of glue to the front and back of the point of attachment between the two shells. Support the turkey until the glue has cooled.


Step 7: Add the Place Card
Put one of these adorable shell turkeys (or “shurkeys” as I like to call them) at each place setting with the place card tucked in the tail feathers. They are sure to add a little coastal cuteness to your Thanksgiving table!

Pin it!

To automatically receive future posts in your inbox, be sure to sign up below. As a thank you, you’ll get a free copy of my helpful checklist for fall decorating! For more crafty fall decorating ideas, check out my posts on how to make a coastal candle jar and how to style a spooky seaside doorway.
You can also follow me on Pinterest, Hometalk, Facebook and Instagram.

Discover more from From the Bay to the Beach
Subscribe to get the latest posts sent to your email.

