
In this post, I will show you how to make a beautiful fall door hanger using supplies from your local craft store. I completed this easy DIY project using a bundle of wheat from HomeGoods and simple Dollar Tree supplies, including ribbon & foliage picks, plus some dried grasses and floral wire from Amazon. This post also includes a quick bow-making tutorial I learned from my friend MaryJo at Masterpieces of My Life. You will be amazed at how great these easy-to-make bows look! They are also a great way to decorate a fall wreath! Be sure to check out her blog for tons of great crafting ideas.
Introduction
One of the simplest ways to decorate for fall this time of year is to decorate your front door or front porch. While there are lots of choices for pre-made door decorations in the stores, sometimes it can actually be more economical to craft your own. Using your imagination, you can even repurpose some of the fall decor items you already own to create your own unique door decorations. Let’s get to it!

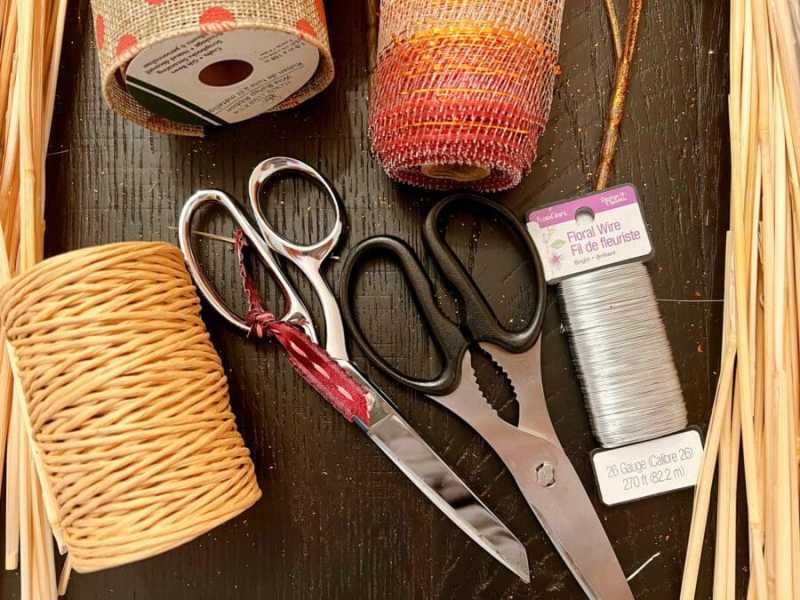
Supplies Needed:
One bundle of dried wheat (Look for them at HomeGoods, Hobby Lobby, or on Amazon.
Assorted dried pampas grass stems or bunny tail stems
3-5 different spools of wire-edged ribbon in any color combination – optimally in different widths.
Command Hooks (if needed for hanging)

How to Make the Bow
To start, cut an approximately 18” length of the first ribbon and dovetail the ends by snipping a “v” shape from the end of the ribbon. This will be the “tail” ribbon”. Next cut another length of the same color ribbon approximately 24” length and dovetail the ends. This will be the “double loop” ribbon.
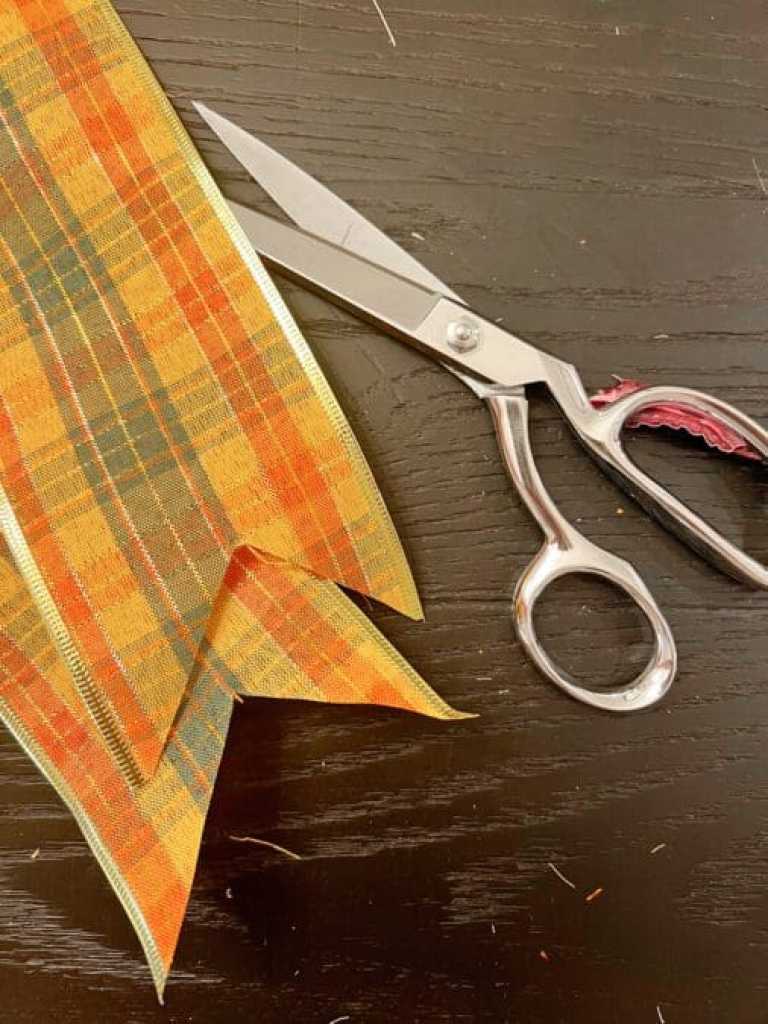
Repeat these steps with the other ribbons you are using. You should have a “tail” and a “double loop” length for each color.
To make the bow you will be stacking the ribbons by width, starting with the widest ribbons first.
To assemble, start stacking the centers of the ribbons between your thumb and index finger, beginning with the first “tail” ribbon. Next, pinch the matching “double loop” ribbon on top of your first ribbon and bring the loops around and pinch again. Then layer the next “tail” ribbon on it and pinch, followed by the next “double loop” ribbon, bringing the loops around and pinching that one as well. Repeat until all ribbons are stacked in the bow.

Wrap a 6” piece of floral wire around the center of the bow and twist it in back like a twist tie, making sure all ribbons are secured. Fluff and trim as desired. Trim the excess wire.
How to Assemble the Door Hanger
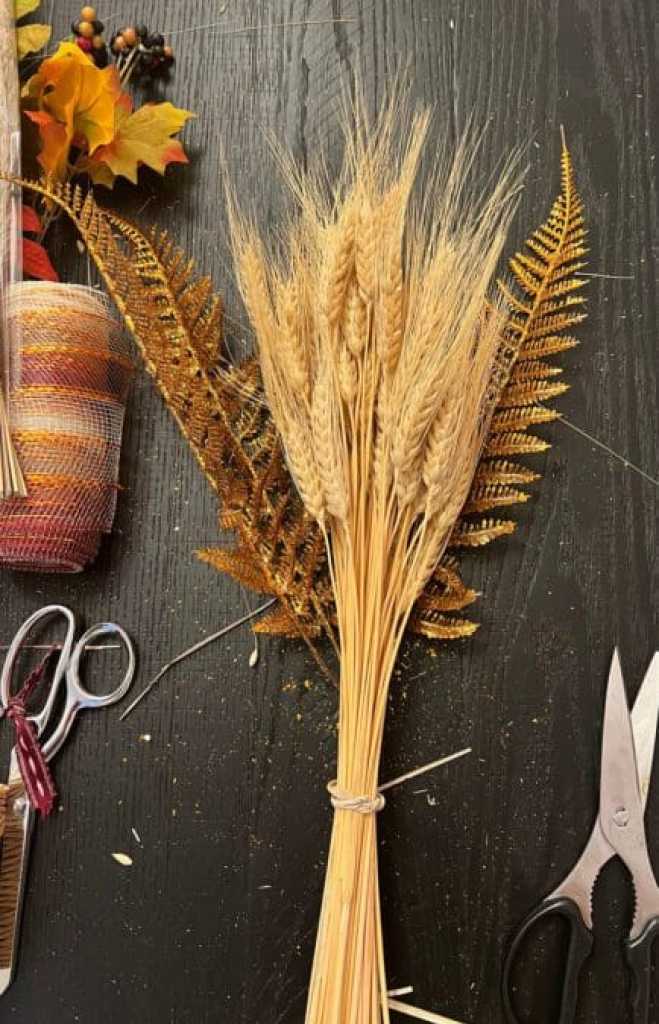
Step 1: Gather the Wheat
To assemble the wheat bundle, first gather the number of wheat stalks you want to use in your design. I had enough stalks to make 3 different door hangers from one large bundle. Gather the stalks in a bundle and wrap the rubber band LOOSELY around the bundle. Slide the rubber band up toward the top of the bundle. Make sure the wheat heads are roughly even at the top, adjusting as necessary. Then trim the ends of the stalks to make them even.


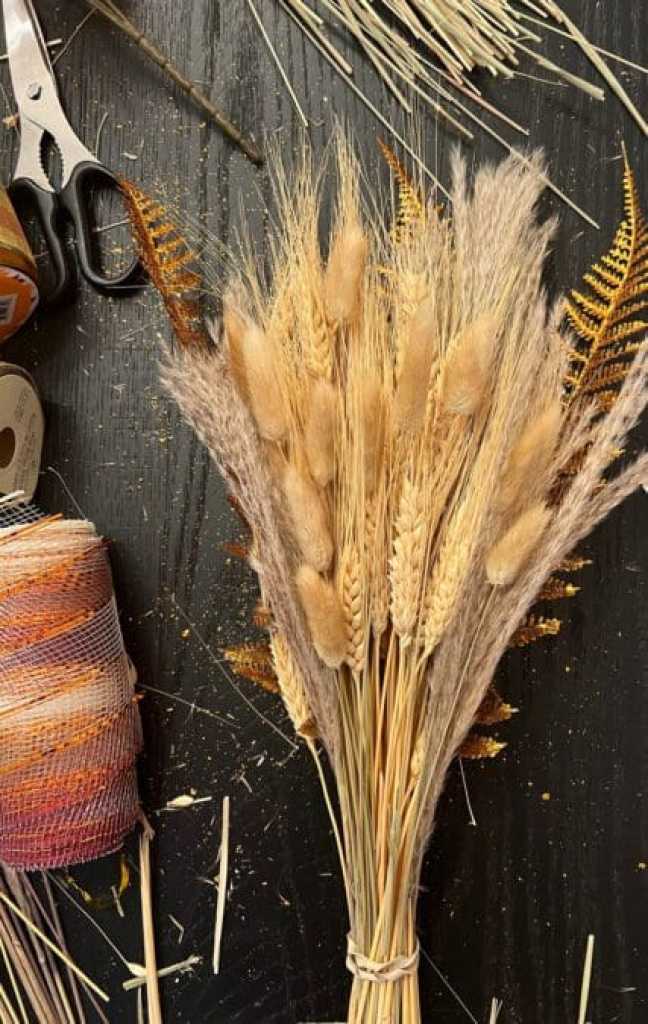
Step 2: Add to the Bundle
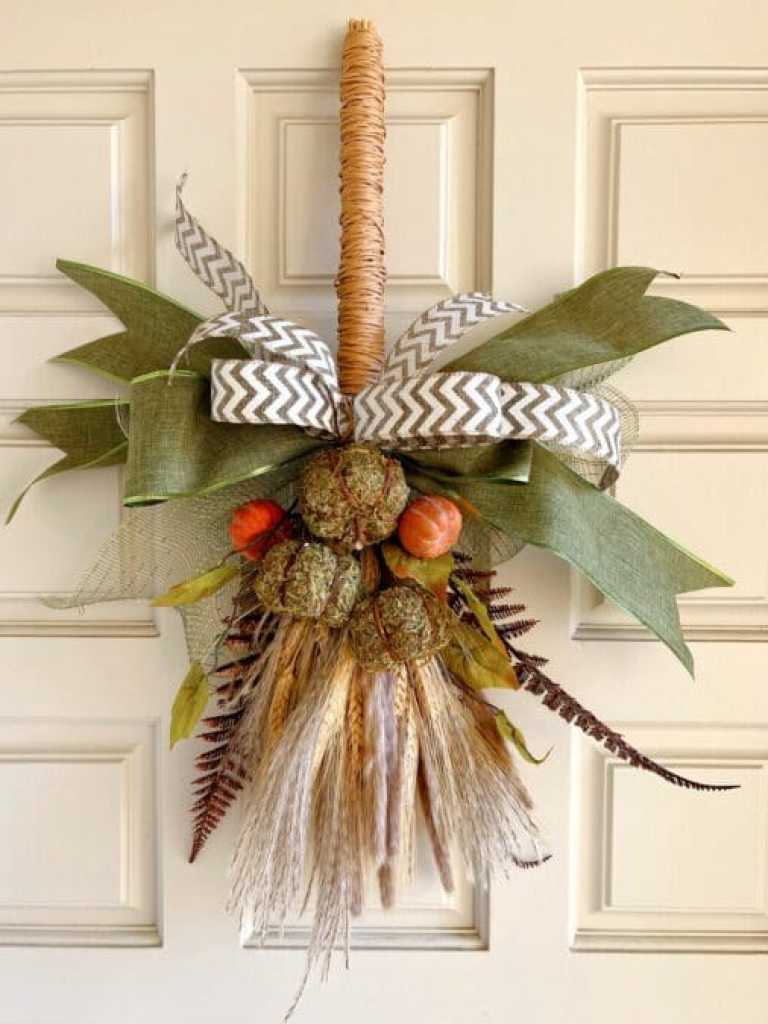
Select the other materials you would like to include in your door hanger. I used a mix of pampas grasses and bunny tails, plus 1 pick of faux fall florals, snipped apart. (If you have some old fall garlands this is a great way to upcyle them into new fall decor!) I also added some glittery faux fern fronds behind the wheat for a little sparkle. Carefully tuck the selected add-ins into your wheat bouquet, making sure each is secured by the rubber band. In the example below, I added some cute moss-covered pumpkin picks along with some greenery to make a pumpkin door hanger
.


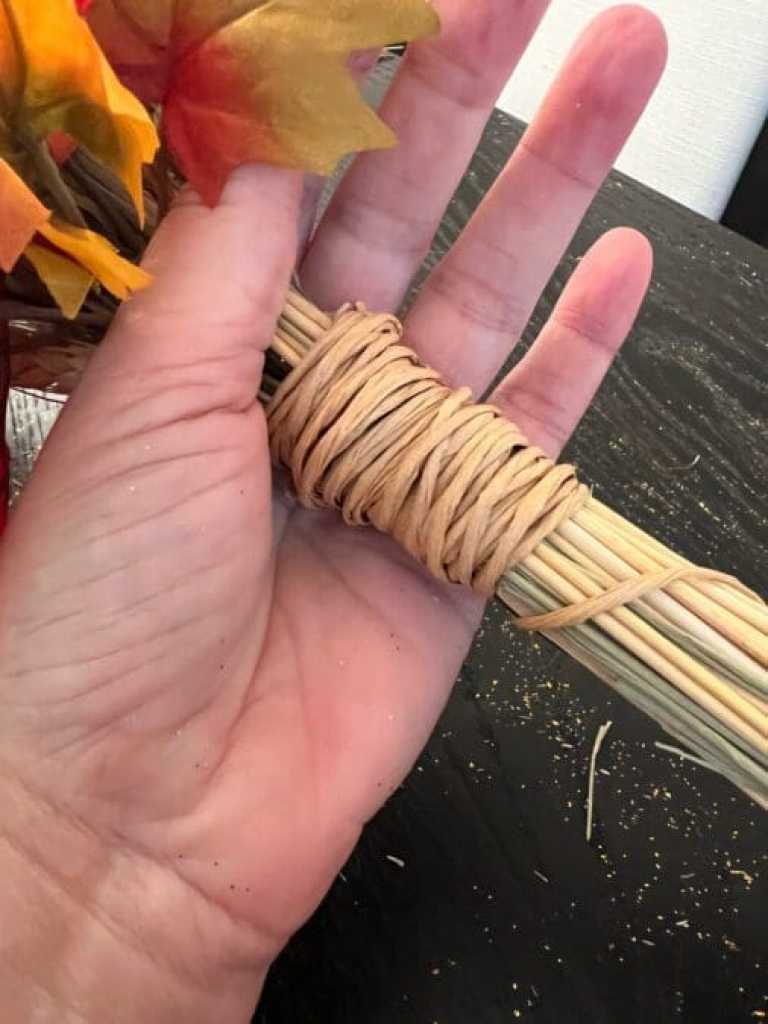
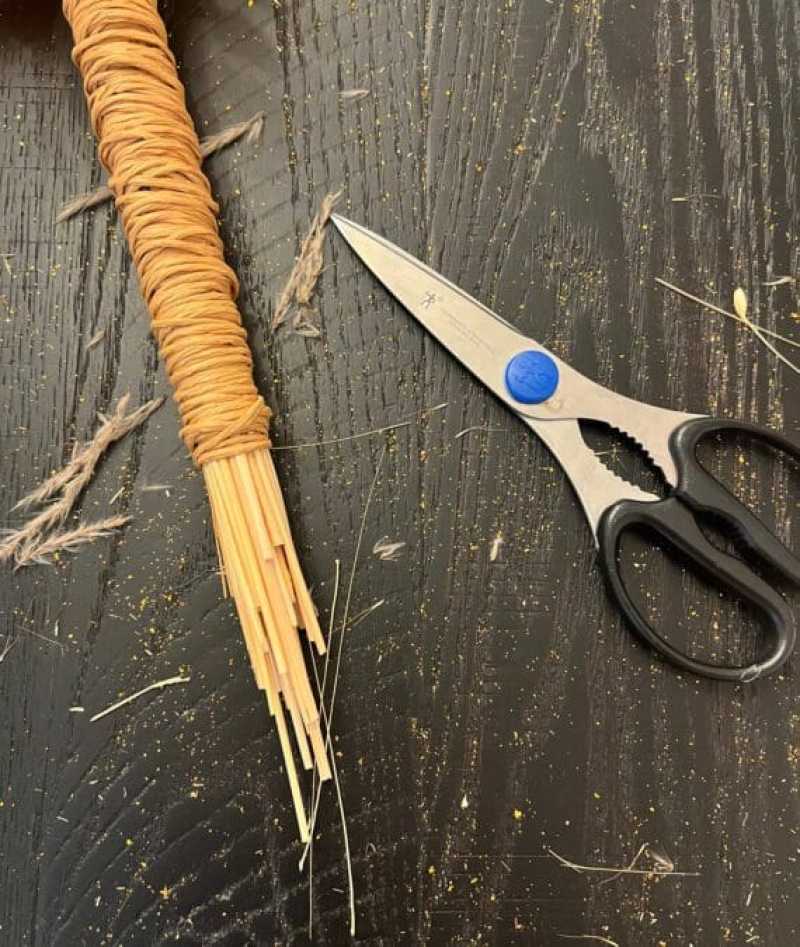
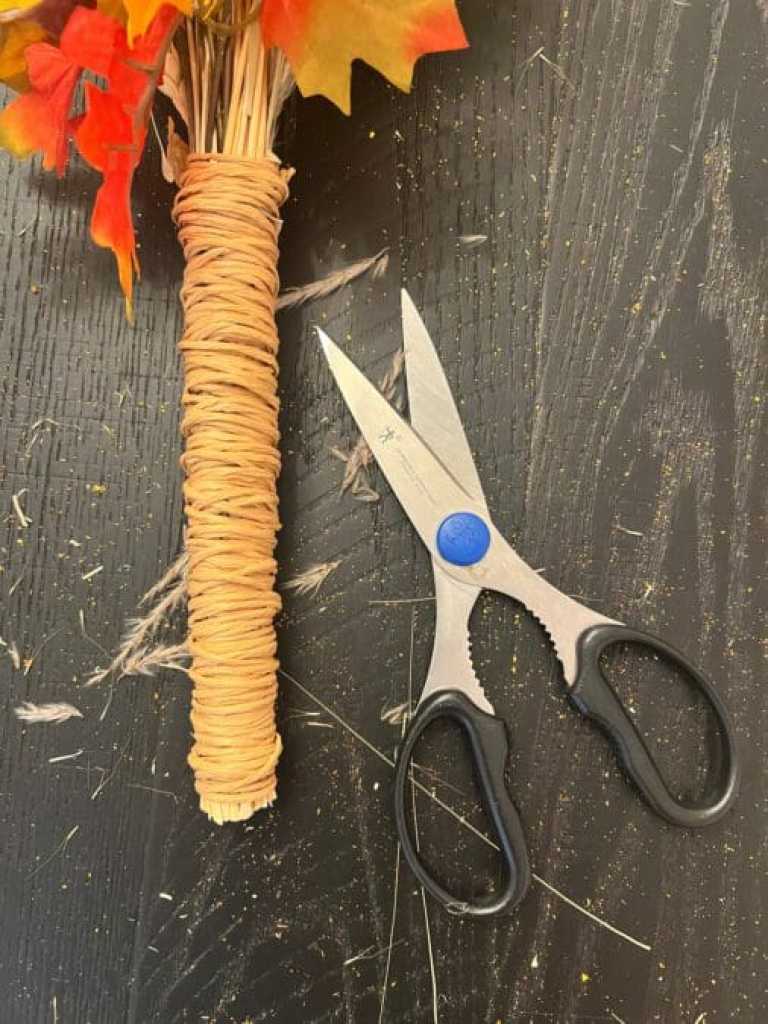
Step 3: Wrap the Stems
The next step is to wrap the stems into a bundle, like what you see in a bridal bouquet. To start, tie the end of the floral bind wire around the bundle above the rubber band. Start wrapping the bind wire around the bundle over and over, moving down the bundle, covering the rubber band and overlapping when necessary to cover the stems. Continue wrapping until you have the length “handle” you want. (Next time I’ll make mine a little shorter!) When you have the length you want, tie off the wire and trim the end of your bundle to make it even.

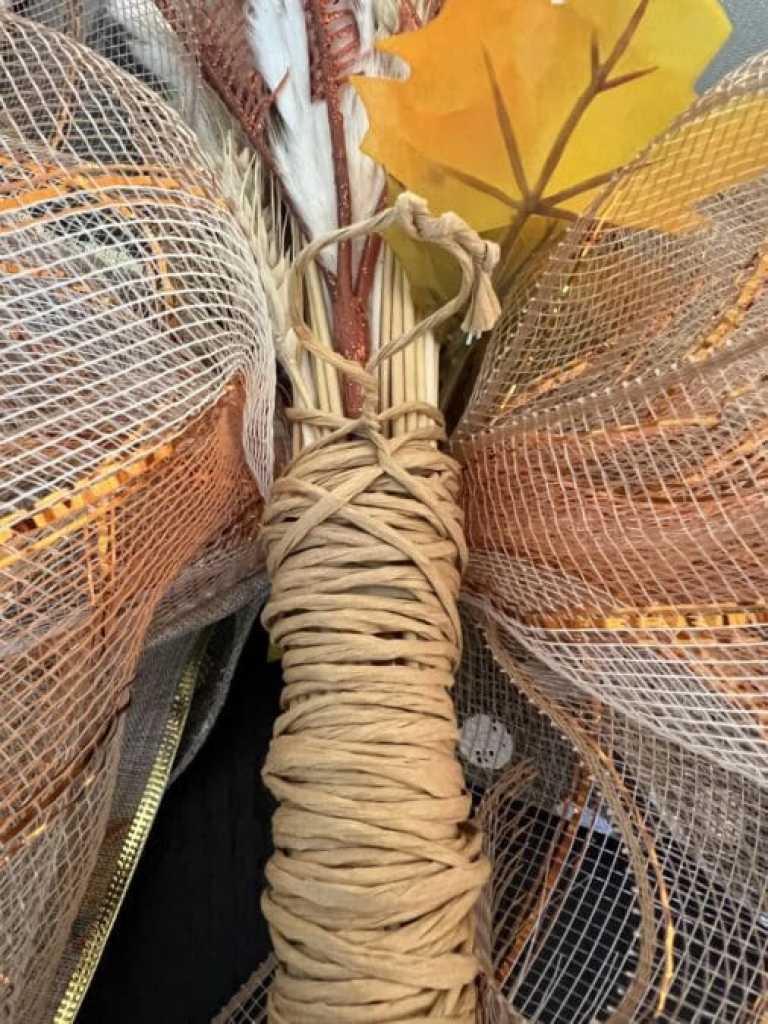
Step 4: Attach the Bow
Cut an 8” -10” long piece of binding wire (the same you used to wrap the bundle.) Place the bow just below the bouquet and wrap the wire diagonally across the middle front of the bow. On the other side, twist the wire and bring the ends around to the front, crossing the first wire making an “x”. Bring the ends to the back again and twist. Then twist the ends together to form a loop for hanging.

Last Step: Hang and Enjoy!
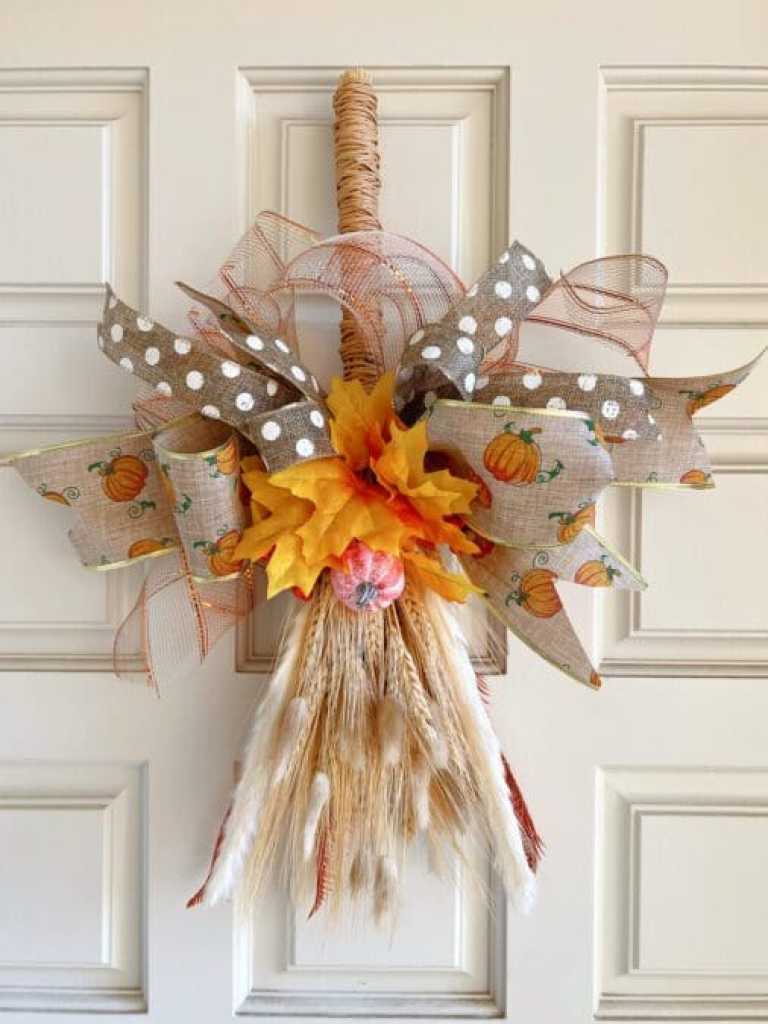
There are multiple ways to display your wheat door hanger. You can (obviously) hand it on your front door to welcome visitors – just be sure that it’s sheltered from the elements. You can also hang it on a mirror or wall inside your home. It would also look great as table decor. I hang mine with the wheat pointing down, but you can hang it pointing up too!

I had enough supplies to create 3 different designs! I’m already thinking about ways to adapt this idea for Halloween and Christmas! Stay tuned!


Follow Me on Pinterest!

This article includes affiliate links; if you click on a shopping link and make a purchase I may receive a commission. As an Amazon Associate, I earn from qualifying purchases.
Thanks for being here today! I hope you’ll try making one of these pretty door hangers. They were quick and easy to make! For more inspiring fall decorating ideas, be sure to check out my last post 25 Simple Ways to Bring Fall Into Your Home.
Subscribe today and never miss a post!
Sharing @betweennapsontheporch.net
Discover more from From the Bay to the Beach
Subscribe to get the latest posts sent to your email.


4 Responses
Love it Susan! They look great and I appreacite the bow shout out. Your bows look fab. XO- MaryJo
Thanks for the idea MaryJo!
Amazing, so beautifully done.
Thank you for linking to SSPS 371. See you again Monday
Thanks Esme!