
In this post – how we installed a curtain room divider to enhance the functionality of our space.

The Current Situation
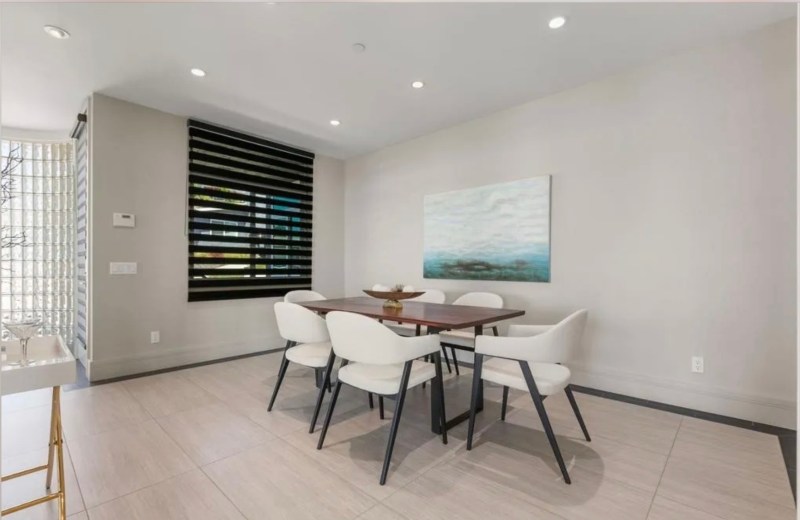
When we first thought about moving to a new place in San Diego, one thing on our wish list was a third bedroom. Although the property we ended up with technically only has two bedrooms, there is an extra room off the main living area that was staged as a dining room. For us, it will function as both an office and occasional guest room.

This bonus space is open on one side to preserve the ocean view, so we didn’t want to enclose it. After some research, I came up with the idea of using curtains to partition off the room when privacy is needed for guests.
Adding a Curtain Room Divider
For this project I purchased four 50” x 108” Alessandra Velvet Drapery Panels in Gray from Ballard Designs. They are a nice heavyweight fabric and are fully lined and weighted. They will provide floor-to-ceiling privacy for our guests.

While they are not technically blackout curtains, the heavy fabric weight with the liner blocks out most of the light.


Installing the Curtain Rail
This is a project a novice can tackle, but it’s helpful to have some experience using tools and measurements. It’s also a project best suited to two people, otherwise you’ll be up and down the ladder a lot.
Supplies Used:
IKEA VIDGA Corner solution, white (2 sets)
VIDGA Corner piece, single track, included ceiling hardware/white (2)
VIDGA Single track rail, included ceiling fittings/white, 55 “ (2 – including 1 extra piece for cutting if needed)
Pencil
I also recommend a stud finder to help with the wall anchor placement.
This article includes affiliate links; if you click on a shopping link and make a purchase I may receive a commission. As an Amazon Associate, I earn from qualifying purchases.
Helpful Tips
You have several options for how to hang the VIDGA rails. We mounted ours flush to the ceiling. The types of rails and number needed were specific to our project. We used a single rail, but you can also get them in double and triple designs. You will need to determine your own needs based on your space. Also, be sure to count how many ceiling hardware pieces you will need for your project. We had just enough only because we ordered a couple of extra rails. If you purchase the system at the store you should be able to buy what you need a la carte.

Helpful videos
The IKEA VIDGA system is fairly straightforward once you understand what the different parts are for. I won’t go into great detail on installation instructions because there are many thorough videos on YouTube showing how to install it. We found this one particularly helpful. IKEA also has a quick overview video, shown below.
Measure Twice, Cut Once
One of the best tips I can give for this installation to go smoothly is to use a miter box to make any cuts to the rails. They need to be perfectly straight in order for the curtains to glide smoothly along the tracks. We made do without one, but the cuts would have been easier with one. It’s important to note that even with careful cutting, the connections may not line up perfectly depending on the evenness of your ceiling. You will want to take that into account when considering whether or not to use this system.


The reason I wanted one continuous rail instead of three separate ones was so that the curtains are able to be stored on either side of the center opening when not in use. They also act to frame the view between them and add softness to the space.

The Process
For this project we had to cover 3 openings, one on each end of the space and one in the middle. Careful measuring was important in order to get the side curves to line up at either end of the tracks. We laid the pieces out on the floor first to get an idea of the layout.

We started in the middle of the room and installed one end of the tracks to the side wall and then the other end to the other side wall. The middle part was easiest because it consisted of straight rails. If you’re only using straight rails then this project will be much simpler than what we tackled.

The corner pieces on each side were used to connect the rails to the side walls in a sort of “z” shape. Here’s a view from underneath:

The door openings in this room have odd dimensions and run diagonally. My husband deserves a medal for getting all of the pieces to line up correctly!


Add the curtain clips
Once one end of the rails was complete, we loaded the curtain gliders into the track. The system comes with optional curtain clip extenders. We didn’t need them because the curtains I purchased came with curtain pins. It was easy to attach them to the curtain gliders. After all the gliders were loaded we completed the second half of the install.
The finished install
Because the curtains are lined, they are attractive from the back. Here’s what they look from the main living area when they are closed:


And here’s what they look like from inside the room:


Other Possible Applications
The VIDGA rails system has many possible applications.
You can use it as a room divider, like we did. This would also be a great option for two kids sharing a room when privacy is needed. IKEA sells flat-panel screens that work well for this purpose.

You can also use it as a bed canopy, especially where space is at a minimum.

Another idea is to use it in place of closet doors in a bedroom or office.

Pin It!

More Room Details
As I mentioned, we’re in the process of furnishing the room so that it can function as both a guest room and an office. We have already ordered several pieces of furniture for the room. I want the space to feel a little less formal and a little more cozy than the front room, so the furnishings are more rustic and casual.
Office Space
The first piece we ordered was this Pacific Desk Office Suite from Pottery Barn. The weathered wood is a nice contrast to the darker wood tones in the other room. Plus, the open shelving will be great for displaying books and other coastal accents.

Sofa Bed
We also contemplated putting a Murphy bed on that wall but decided to add a sleeper sofa from American Leather along the back wall to add needed seating to the space. Although sofa sleepers have a bad rap for being notoriously uncomfortable, we learned that American Leather makes sleeper sofas that are actually comfortable. We tested one in the furniture store and it felt like sleeping on a regular mattress!

The sofa we ordered has a neutral fabric with a hint of gray in it to coordinate with the rest of the space. I’ll share more about it when it arrives.
Rug
The floors throughout the main living area in our home are large gray tiles. They are beautiful and easy to maintain but can be a little chilly on the feet, so rugs are needed. I wanted the rug in the office/guest space to complement the Arhaus rug in the main living area because they are visually connected. This chunky wool jute rug from Pottery Barn is a perfect complement and is surprisingly soft on the feet!

Walls
While I like the color of the walls in our home, I’m toying with the idea of wallpaper in this room to differentiate it from the main living area. I found these great papers on a site called Painted Paper.


I’m not sure if I want to use wallpaper on an accent wall or on all of the walls. Whatever we end up doing, I’m excited to see it all come together. Have you ever used the Vidga rails system from IKEA? What did you think?
Follow Me!
For more great craft ideas and coastal decor inspiration follow me on Hometalk and Redesigndaily!


Discover more from From the Bay to the Beach
Subscribe to get the latest posts sent to your email.


