
In this post – transform humble oyster shells into elegant nautical napkin rings that capture the essence of seaside dining.
There’s something magical about bringing the ocean’s treasures to your dining table. These DIY decoupage oyster shell napkin rings perfectly blend coastal charm with elegant table styling, creating conversation pieces that your guests will love. Whether you’re hosting a summer dinner party, coastal wedding, or simply want to infuse your everyday meals with coastal charm, these handcrafted napkin rings will transport you straight to the shore. Plus – they’re surprisingly simple to make!

Why Oyster Shell Napkin Rings?
Oyster shells are nature’s perfect canvas for crafting. Their natural curves and pearlescent interiors provide an elegant foundation that complements any coastal tablescape. Unlike mass-produced napkin rings, these handmade pieces tell a story and add authentic coastal character to your table setting. Plus, they’re very sturdy and can be used for both casual beach house dining and formal entertaining.

Materials You’ll Need

For the Shells and Napkin Rings
Large oyster shells (4-6 inches, cleaned and dried)
Clean cloth
For the Decoupage
Nautical-themed tissue paper or thin decorative paper, such as a cocktail napkin.
Mod Podge (matte finish)
Heavy white acrylic paint (*optional)
Medium fine-tipped acrylic paint brush
Scissors
Hot glue gun and glue sticks (I like to use this cordless one!)
Step-by-Step Instructions
Preparing Your Shells
Start by selecting oyster shells that are roughly uniform in size and free from major cracks. Give them a thorough cleaning with warm soapy water, then let them dry completely overnight. Wipe down each shell to remove any remaining dust if needed. The shells I received from Amazon were already very clean and just needed to be wiped with a damp paper towel to remove dust from shipping.*
*If your shells have dark spots, you can use heavy white acrylic paint to create a base layer for your design. After cleaning your shells, paint the insides with the white paint and allow to dry before beginning the decoupage process.
Creating Your Design
Choose your decoupage paper carefully – thin tissue paper works beautifully for this project because it conforms easily to the shell’s curves. Maritime maps, vintage nautical illustrations, or paper featuring seahorses, anchors, and sailing ships create stunning effects. I used some inexpensive cocktail napkins. They are easy to find and work well for this project.

Using a pencil, trace an outline of your shell on the backside of the paper you’re using.


The Decoupage Process
Apply a thin, even coat of Mod Podge to the inside of the shell using your foam brush.

Working quickly, place your paper design side up onto the shell, using your fingers to smooth out the paper from the center outward to eliminate air bubbles. The paper should follow the shell’s natural contours.

Once positioned, apply another thin coat of Mod Podge over the paper, sealing it completely. Allow to thoroughly dry before the next step.
Add the Metallic Gold Edge


Using a fine-tipped medium acrylic paintbrush, carefully paint a thin line of gold along the edge of the paper. I tried to cover any parts of the edge of the shell that were visible from the front.


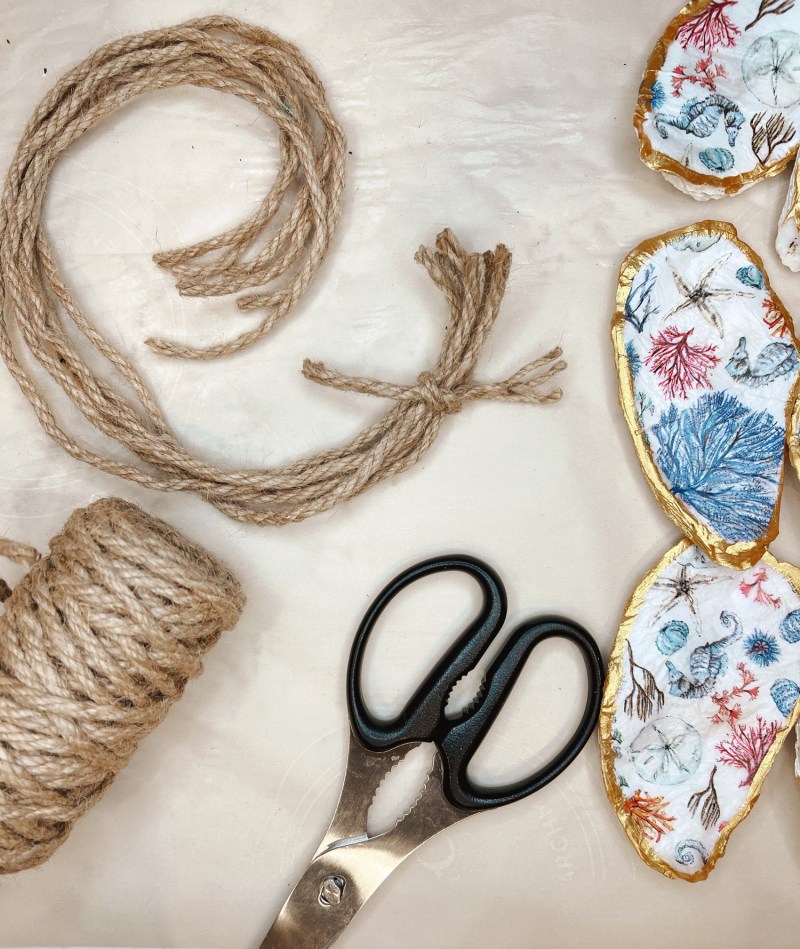
Making the Twine Napkin Rings
While the gold paint is drying, it’s time to make your braided napkin rings.
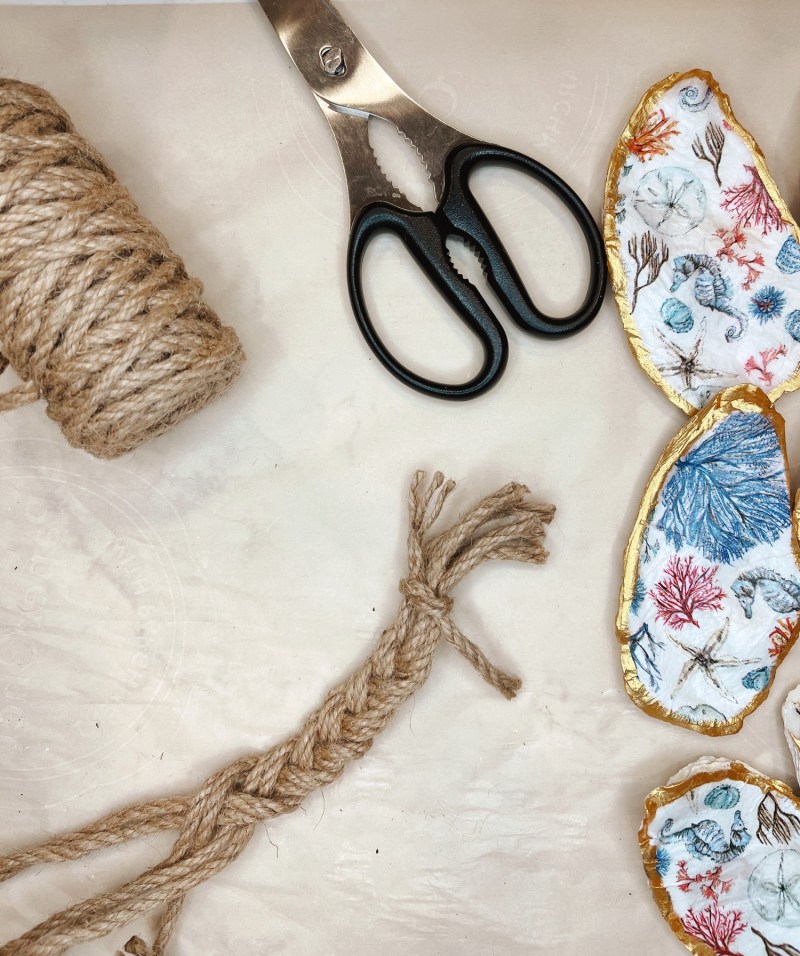
To make the napkin rings, cut 6 pieces of heavy twine, each about 12” long. Cut 2 small (approx 3”) lengths of twine and use one to tie the ends of the longer pieces together, as shown.


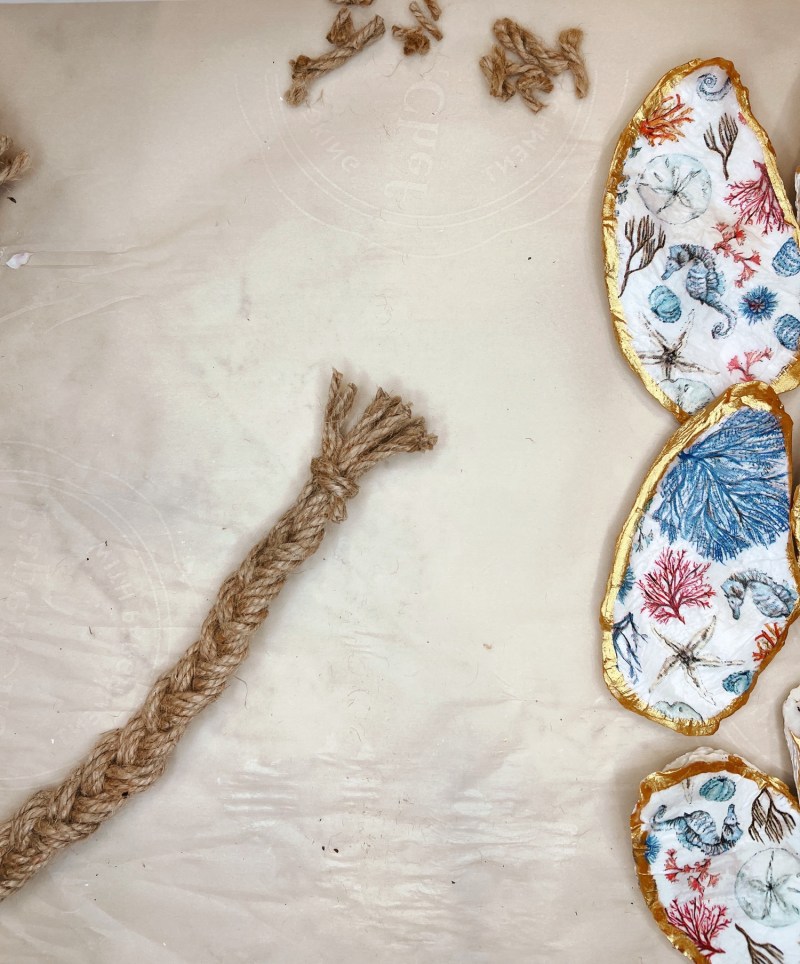
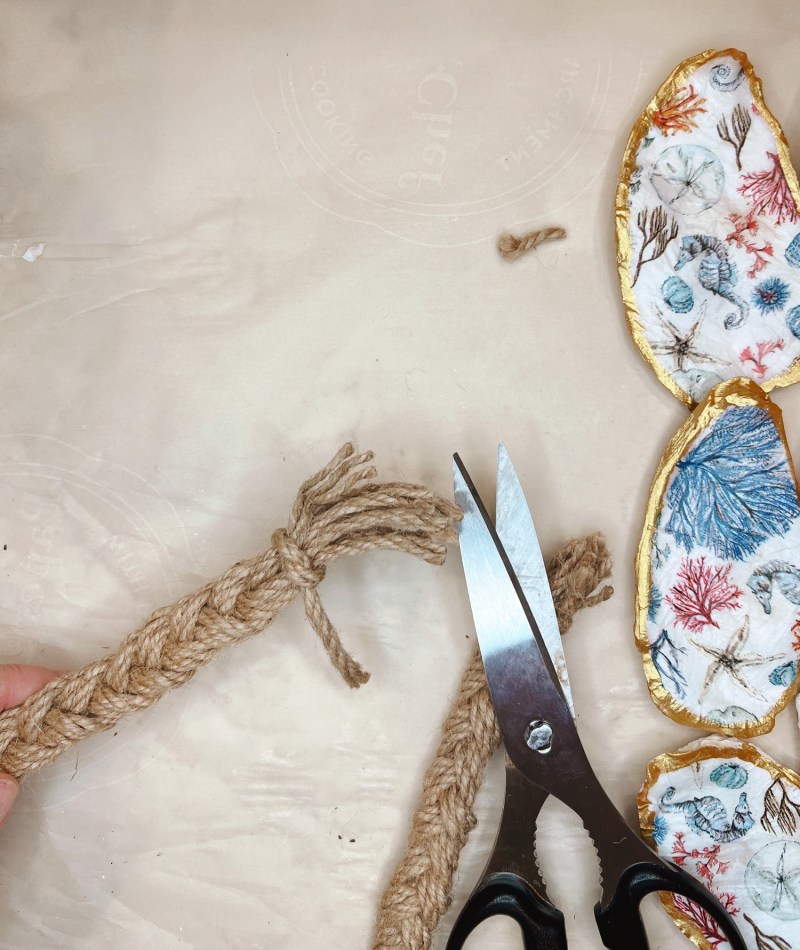
Begin braiding the twine using two pieces at a time. Braid until you have almost reached the end of the twine. Then use the second short piece of twine to tie off the other end. Trim the ends to match. If necessary, add a small amount of hot glue to the ends to prevent the braids from unraveling.

To create the napkin ring, cross over the ends of the braid and use hot glue to secure.

Position your oyster shell on the napkin ring to find the most stable and visually appealing placement. The shell should sit securely without wobbling, and the decorated side should face outward. Use hot glue to attach it to the back of the shell.


Optional Final Touches
For extra coastal flair, consider hot-gluing small shells, pieces of sea glass, or pearl accents around the junction where the shell meets the napkin ring. A single large pearl in the center of the oyster would be fun too. Keep embellishments minimal to maintain the elegant, natural aesthetic while ensuring they don’t interfere with the napkin ring’s function.

Creative Variations
Once you’ve mastered the basic technique, experiment with different approaches. Try using vintage maps of your favorite coastal destinations, or create personalized versions using family vacation photos printed on tissue paper. For special occasions, consider adding guests’ names in elegant script using waterproof markers.
Seasonal variations work beautifully too – incorporate autumn leaves and warm tones for fall coastal dining, or add winter whites and silvers for holiday entertaining with a nautical twist. The possibilities are endless and I’m already thinking of other designs I’m going to make in the future!
The Perfect Finishing Touch
Whether you’re a seasoned crafter or just beginning your DIY journey, this project offers the perfect balance of simplicity and sophistication. Your guests will be impressed by the thoughtful details, and you’ll love the way these unique napkin rings transform an ordinary meal into a special coastal celebration.
So gather your shells, choose your favorite nautical papers, and let the ocean inspire your next tablescape masterpiece.
Happy crafting, and may your table always reflect the serenity and beauty of the sea!
Subscribe to From the Bay to the Beach today!
Pin It!

This article includes affiliate links; if you click on a shopping link and make a purchase I may receive a commission. As an Amazon Associate, I earn from qualifying purchases at no additional cost to you.
Featured on…


sharing@betweennapsontheporch
Discover more from From the Bay to the Beach
Subscribe to get the latest posts sent to your email.


10 Responses
WOW, love it, so cute and perfect
Visiting via Create, Bake, Grow & Gather Party.
My entries are Hong Kong Styled Soy Sauce Chicken and Hot Bread Pudding
Hope to see you also share with https://esmesalon.com/tag/seniorsalonpitstop/
Thanks Esme! I will check out your recipes!
Gosh, these look absolutely beautiful! Enjoy using them.
Visiting from the Crazy Little Lovebirds Link Party.
Thank you Lisa!
Love these Susan! They came out fantastic. I’ve wanted to decoupage oyster shells for a few years now and never get to it. These are impirational. XO- MJ
Thanks MaryJo – I really was surprised how simple it is!
I am so OBSESSED with these! They are gorgeous. I love all things coastal, so I am definitely pinning this. Beautifully done!
Hi Angie – Me too! I’m glad you liked them – thanks! 🙂
Wow, these are so adorable. Congratulations, you are being featured on Wonderful Wednesday Blog Hop. I hope you stop by.https://eclecticredbarn.blogspot.com/2025/07/adult-and-children-diy-projects-on-wwbh.html
Hugs,
Bev
Thanks Beverly! I’ll definitely be there! Hope you’re having a good week!